Description
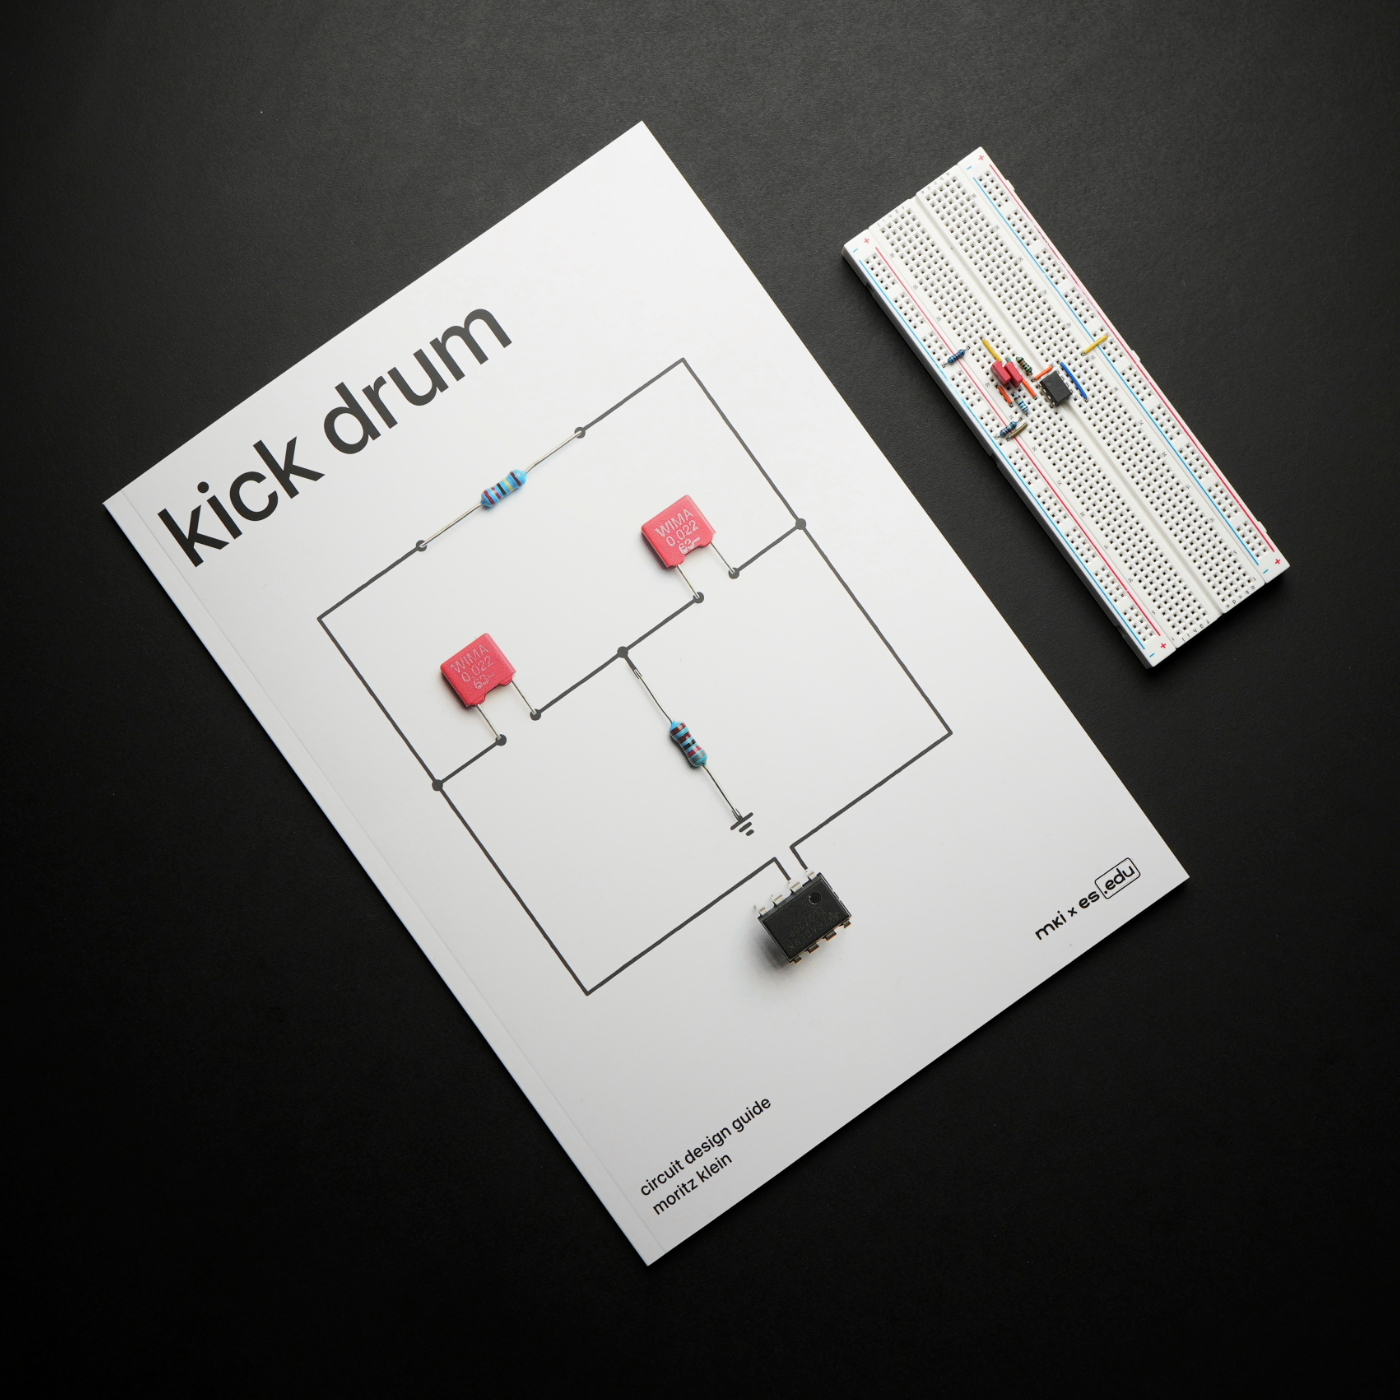
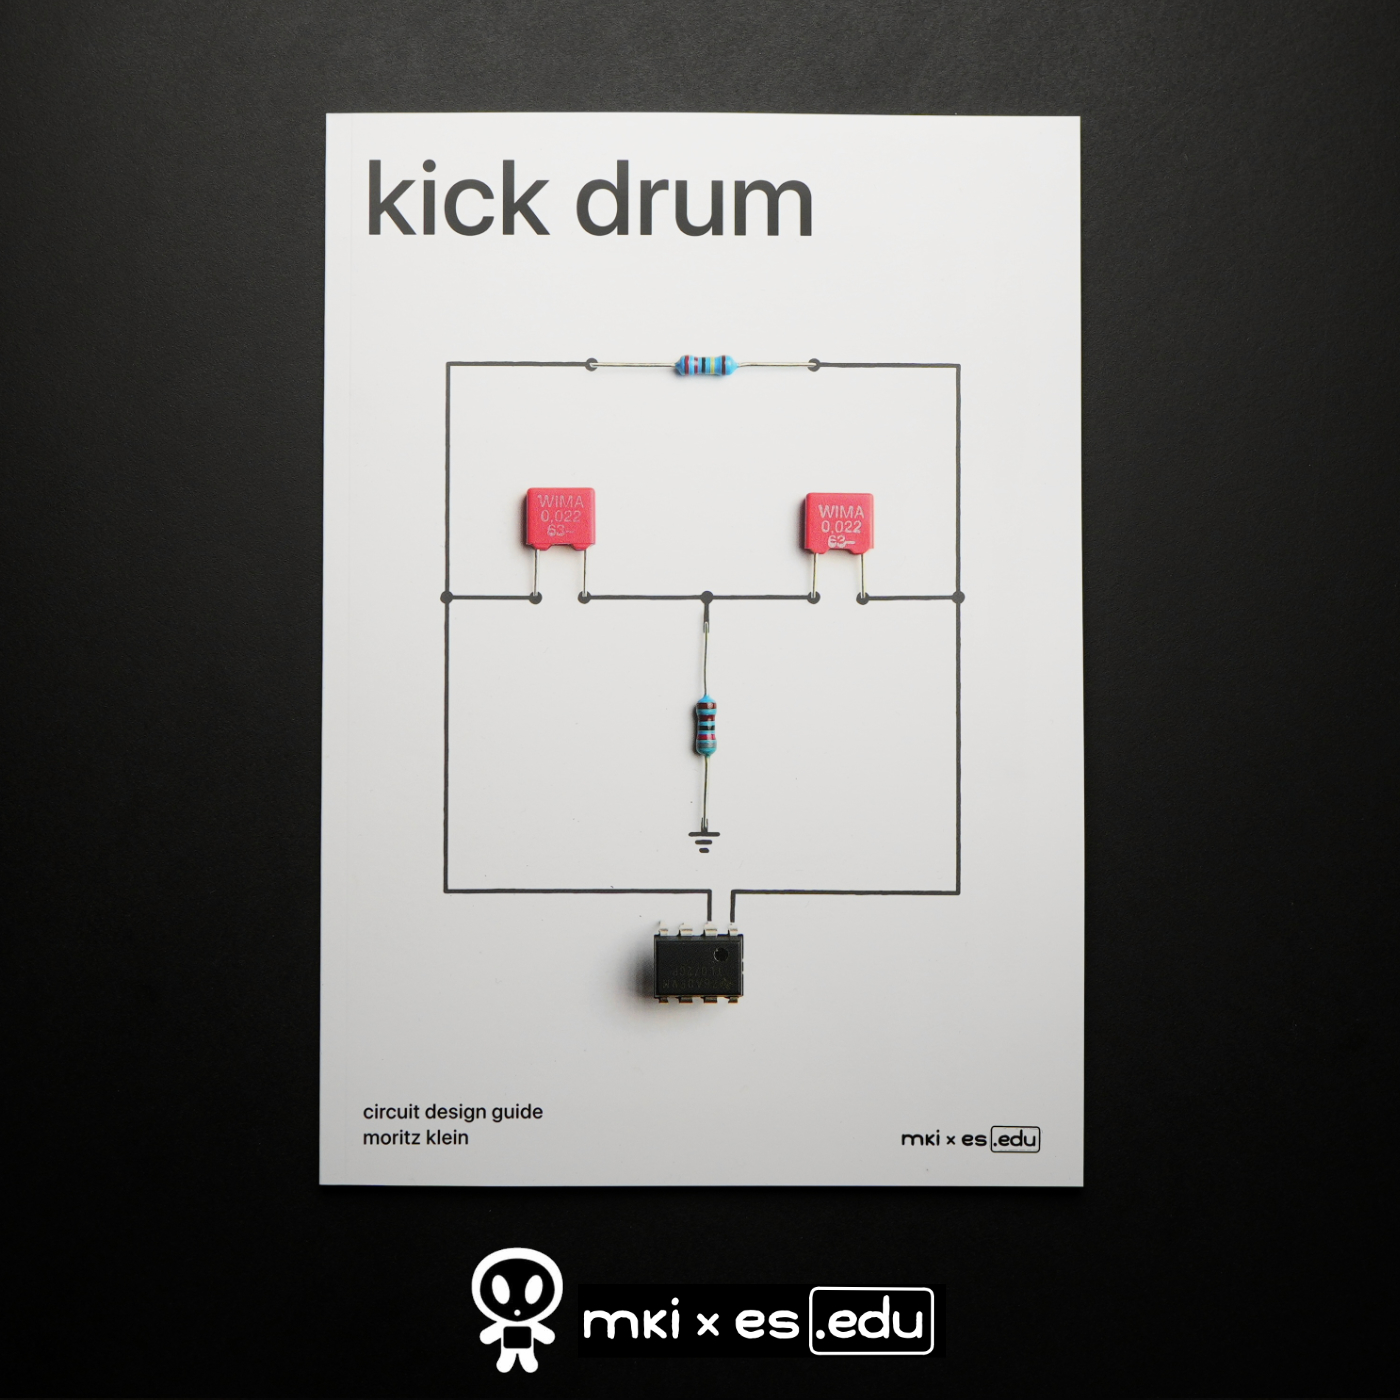
This A4 size illustrated guide walks you through designing an analog kick drum circuit from scratch – starting with a simple five-component bridged-t oscillator and building up to a fully featured percussion voice.
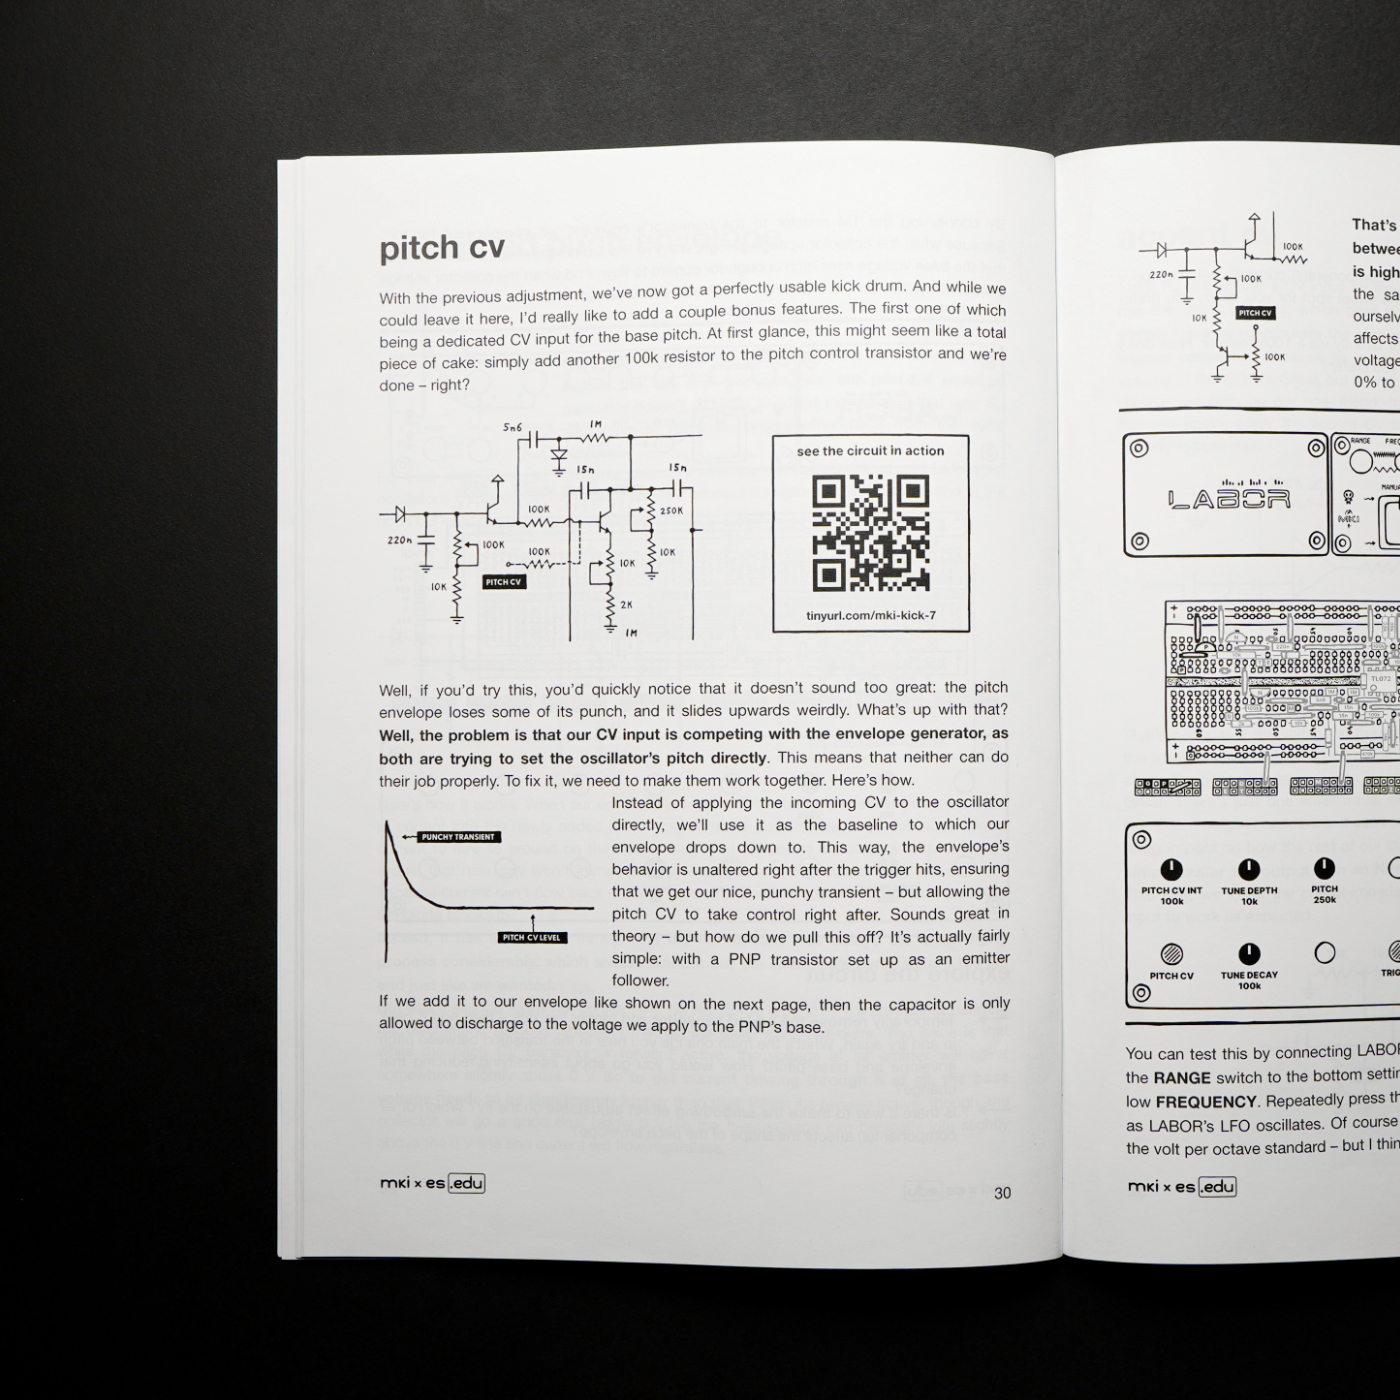
Each chapter introduces a new functional block: from variable decay and pitch envelope to distortion and CV control. Every step includes detailed schematics and a breadboard layout, so you can test each addition as you go and hear the circuit evolve.
While it’s based on the original manual for the EDU DIY Kick Drum kit, this book takes it further with hands-on design challenges that encourage experimentation, along with patch examples, a structured troubleshooting guide, notes on production-ready module design, and post-assembly modifications. It’s a tool for understanding, refining, and extending the circuit – not just building it.
What’s inside
- Circuit design walkthrough with schematics, breadboard layouts, and browser-based circuit simulations
- Design challenges that encourage you to experiment with component values and discover trade-offs firsthand
- Notes on turning the breadboarded circuit into a production-ready module
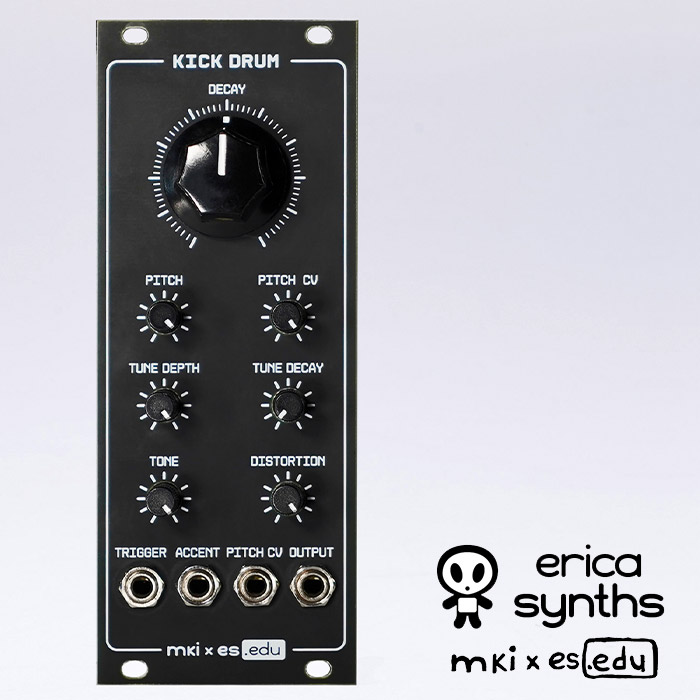
- Detailed assembly guide for the EDU DIY Kick Drum module
- Step-by-step troubleshooting guide using on-board test points to isolate and fix common build issues
- Patch examples for emulating TR-606, TR-808, and TR-909 kick sounds
- Three simple post-assembly modifications to tailor the decay range, distortion intensity, and pitch range to your taste
Requirements
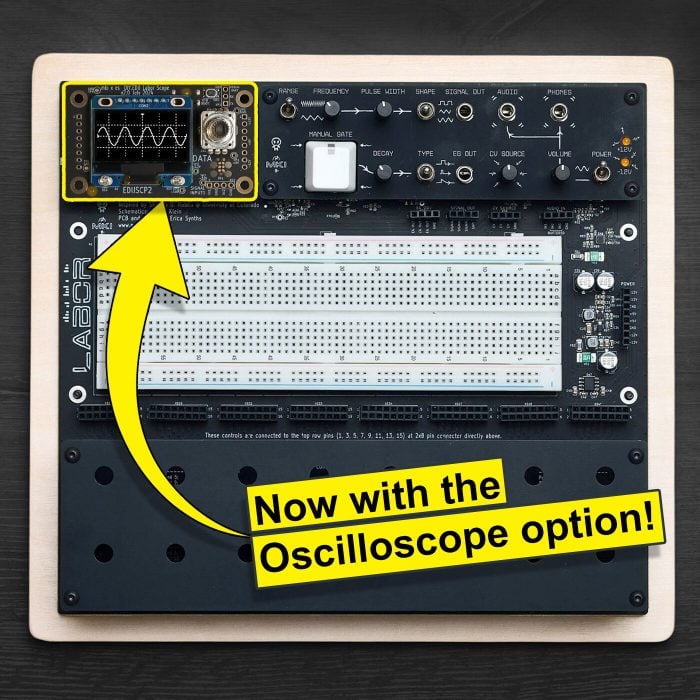
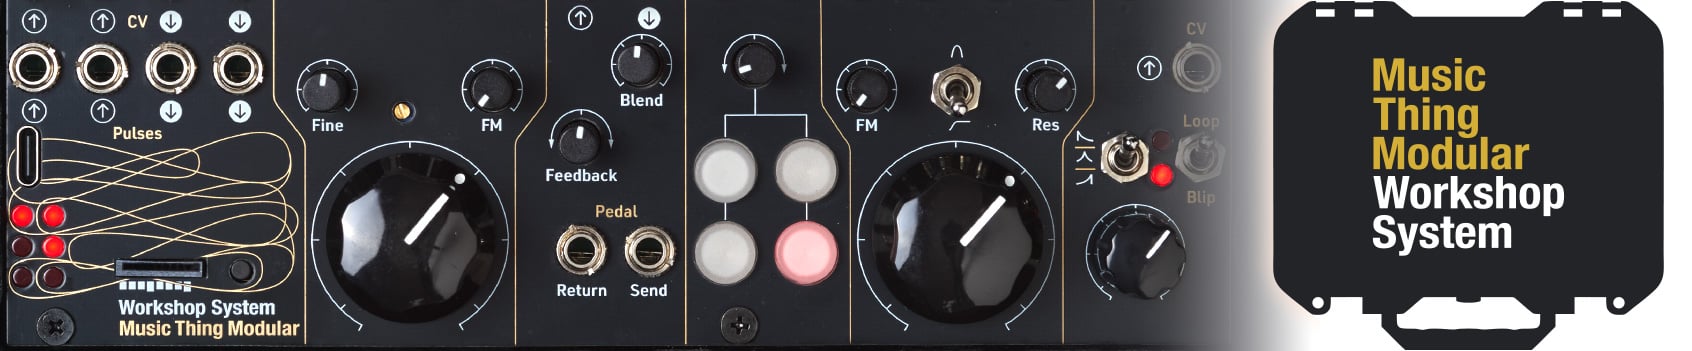
You can follow along using LABOR, or a standard breadboard with a dual power supply (or two 9V batteries). Components can be purchased as part of our EDU DIY Kick Drum kit or sourced individually. The breadboard layouts in the guide are made for LABOR, but a standard breadboard works just as well – you’ll just need to adapt the layouts and provide your own signal sources and output amplification.